Peanut Butter and Jelly Crisp
Test Kitchen-Approved
- Serves
- 1 crisp for an 8-cup baking dish
- Prep Time
- 15 minutes
- Cook Time
- 45 minutes
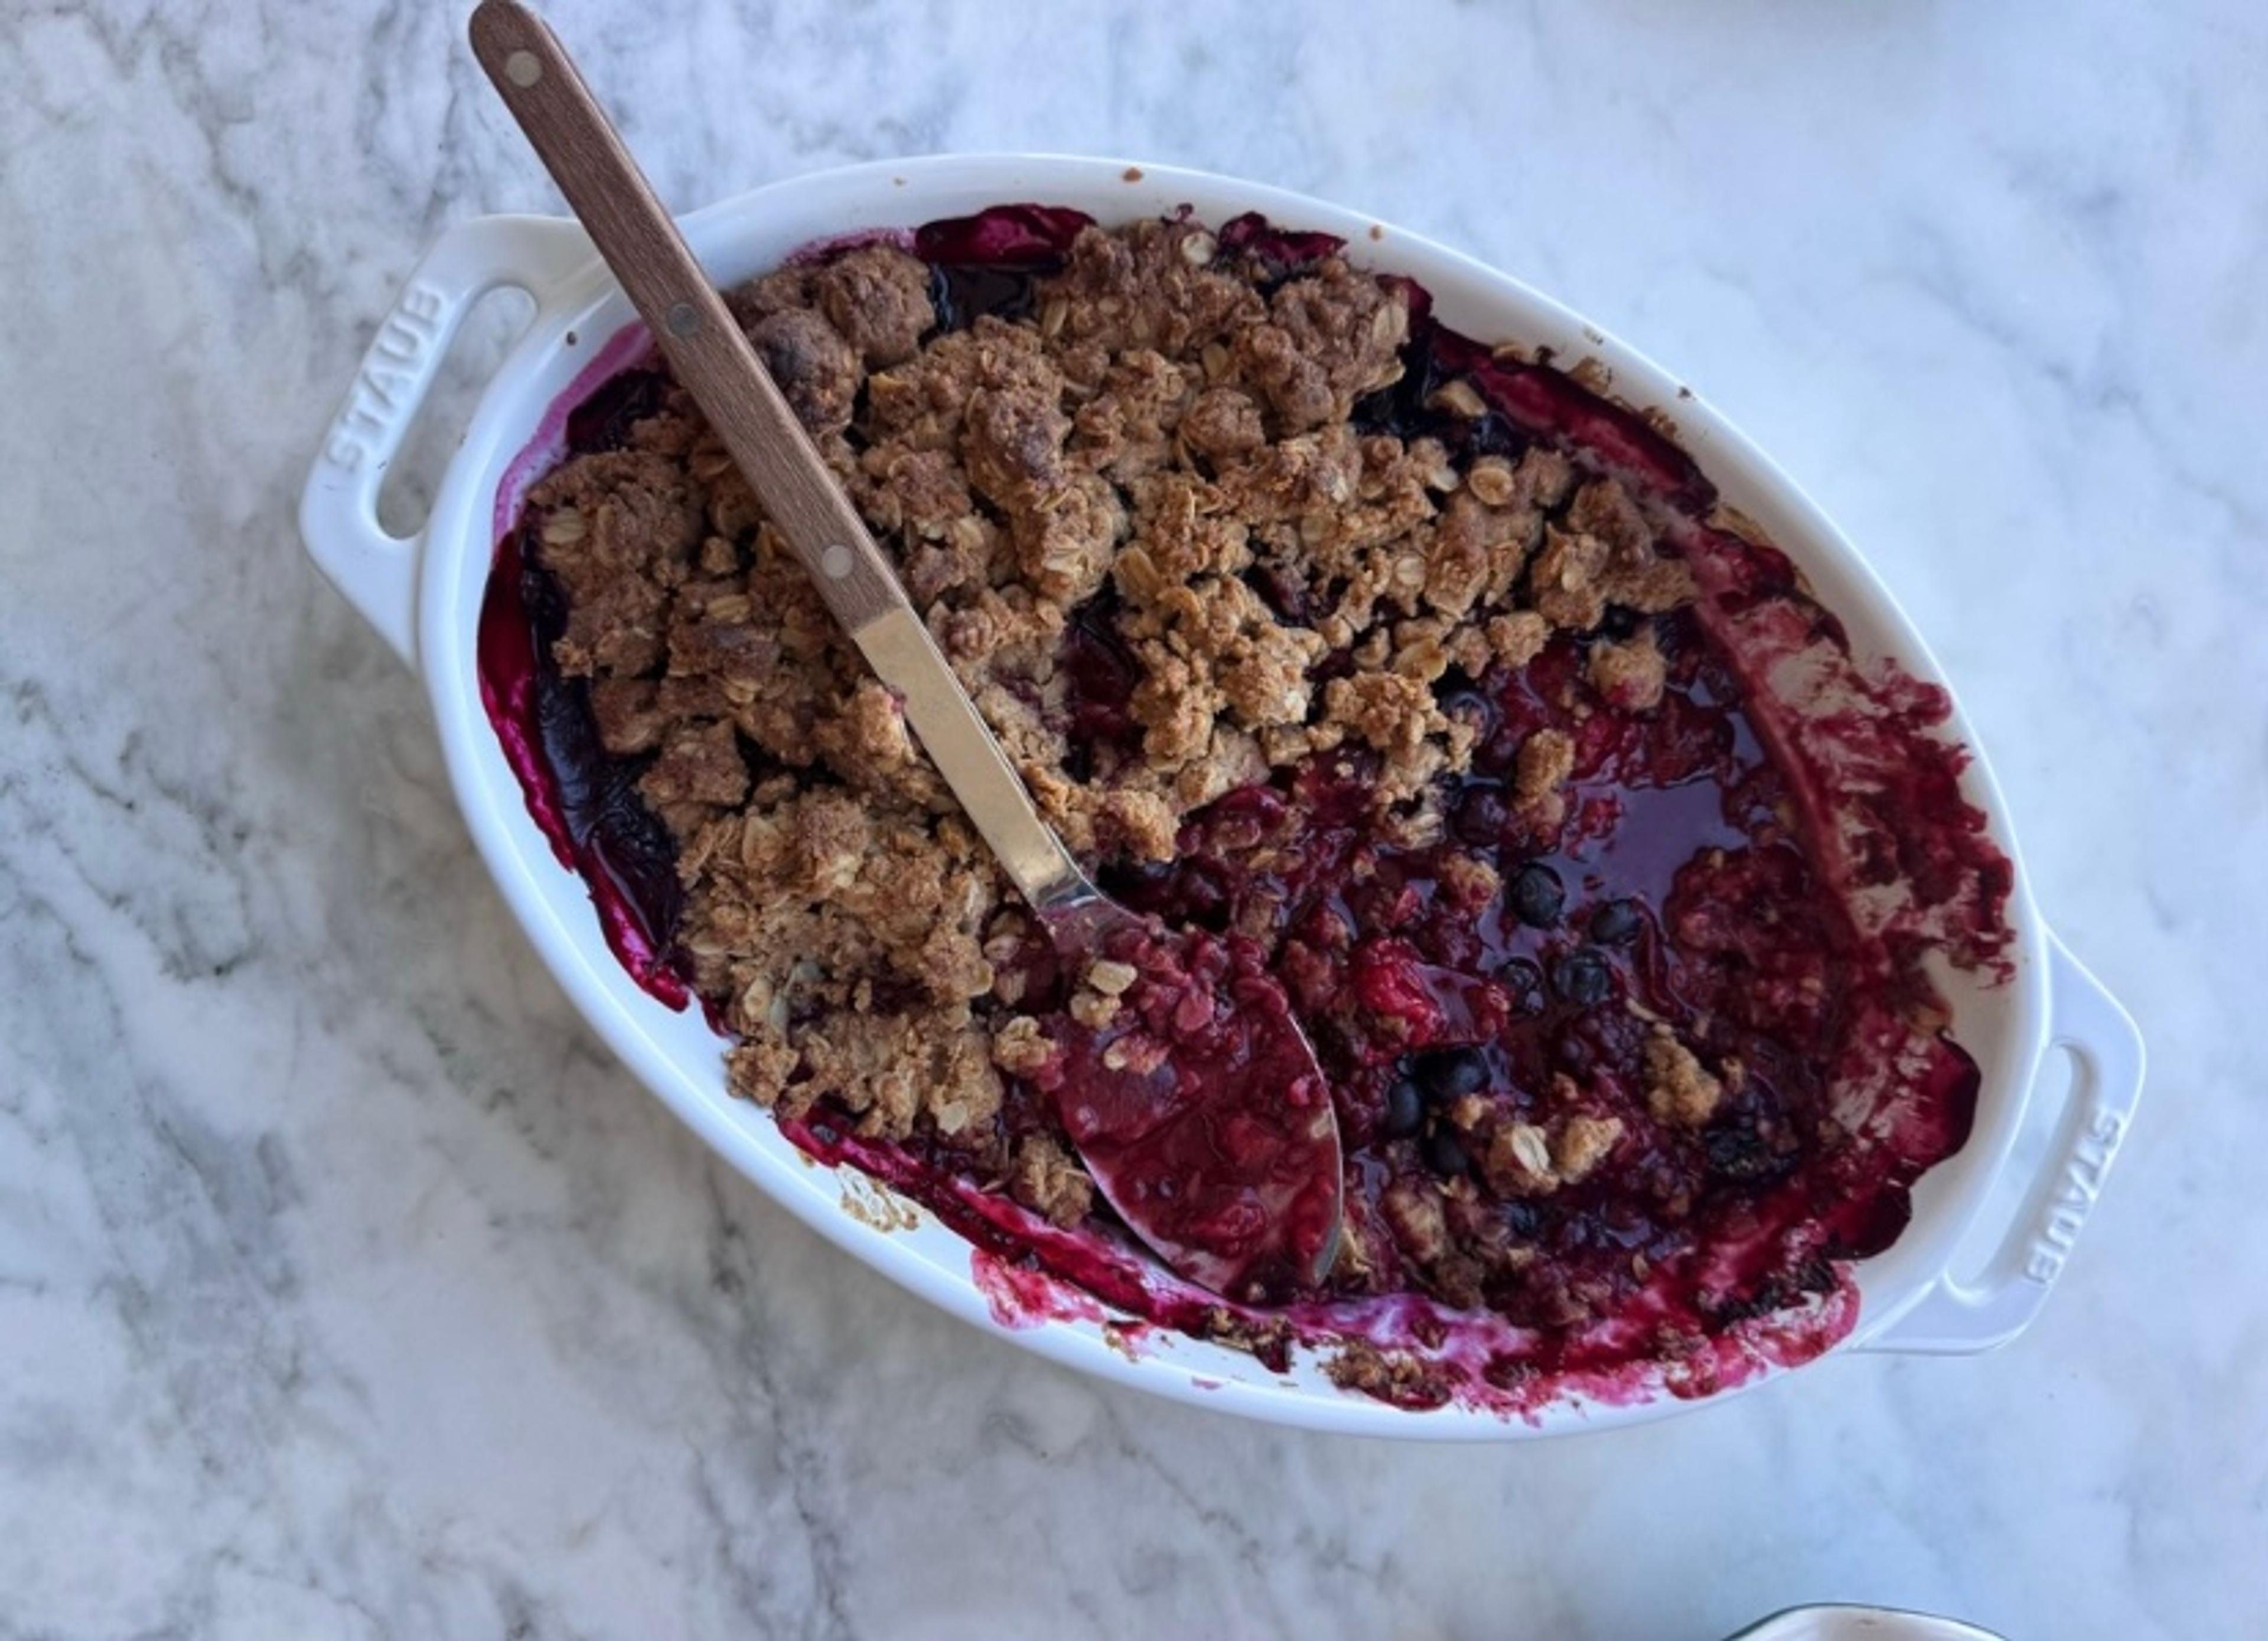
Growing up I loved peanut butter and jelly sandwiches. And being a baker, I always get excited thinking about ways to deconstruct specific flavor profiles into different desserts. So with peanut butter and jelly, how can I make it into a cake, cookies, or pastry. Here, I wanted to create a crisp using some berries I got at the Union Square Farmer’s Market. You can get as versatile as you’d like and the entire recipe is super forgiving! You end up with a super peanut buttery and crunchy topping and a jammy fruit filling.
Ingredients
Crisp
- 2 cups blueberries
- 1 cup blackberries
- 1 cup raspberries
- 2 cups strawberries
- 1 teaspoon lemon extract
- 1 teaspoon lemon zest
- 1 pinch of salt
- 1 teaspoon vanilla extract
- 1/4 cup flour
- 1/3 cup granulated sugar
Crisp
- 8 tablespoons melted butter
- 1/2 cup brown sugar
- 1 cup old-fashioned oats
- 1 cup smooth peanut butter
- 1 1/3 cup all-purpose flour
- 1 teaspoon ground cinnamon
Directions
To prepare the berries
- Step 1
Pour all the berry filling ingredients into a large bowl.
- Step 2
Using a spatula, carefully mix all the ingredients together. Set aside.
To prepare the peanut butter crisp
- Step 1
In a medium bowl, add the brown sugar, oats, flour, and cinnamon. Stir to combine.
- Step 2
Next, add the peanut butter and melted butter and stir until well combined and pieces start forming together. Set aside.
Assemble
- Step 1
Pour the filling into the baking dish and spread out ensuring that the entire surface is covered.
- Step 2
Using your fingertips, grab pieces of the prepared crisp and add to the top of the filling, covering the entire thing.
Bake
- Step 1
Preheat oven to 350 F
- Step 2
Bake for about 45 minutes until the topping is golden brown and the filling starts bubbling.
- Step 3
Let cool slightly and enjoy as is or with ice cream!